Machines don’t distinguish between a technician’s hand and a wrench. When multiple workers service industrial equipment, the risk of accidental energization skyrockets. A single misstep—someone restoring power without verifying all personnel are clear—can lead to catastrophic injury. This is where the group lockout tagout form becomes non-negotiable. It’s not just paperwork. It’s a documented chain of accountability that keeps teams safe when multiple individuals are involved in maintenance.
While individual lockout procedures are well understood, group scenarios introduce complexity. Who controls the energy isolation? Who verifies each worker’s lock is applied? Who authorizes re-energization? Without a structured process—and a clear form to support it—confusion spreads fast. The group lockout tagout form acts as the operational backbone, ensuring every technician is protected, every step is traceable, and every machine stays de-energized until it’s safe to restart.
Why Standard Lockout Tagout Isn’t Enough for Teams
Single-person lockout procedures rely on one person applying their lock, performing the work, and removing the lock. But in reality, complex maintenance often involves electricians, mechanics, process engineers, and contractors—each requiring access to different parts of the system. When four people are working on a conveyor system, each with their own lock, someone must coordinate the sequence.
The danger arises when one worker finishes early and assumes the machine is clear, removing their lock and restarting the system. If others are still inside the danger zone, the consequences are severe. OSHA reports that failure to control hazardous energy accounts for nearly 10% of serious accidents in manufacturing. Most occur during servicing and involve multiple employees.
A group lockout tagout form eliminates ambiguity by:
- Documenting all personnel involved
- Tracking lock placement and removal
- Requiring supervisor authorization before energizing
- Serving as a legal record of compliance
It transforms a fragmented process into a unified safety protocol.
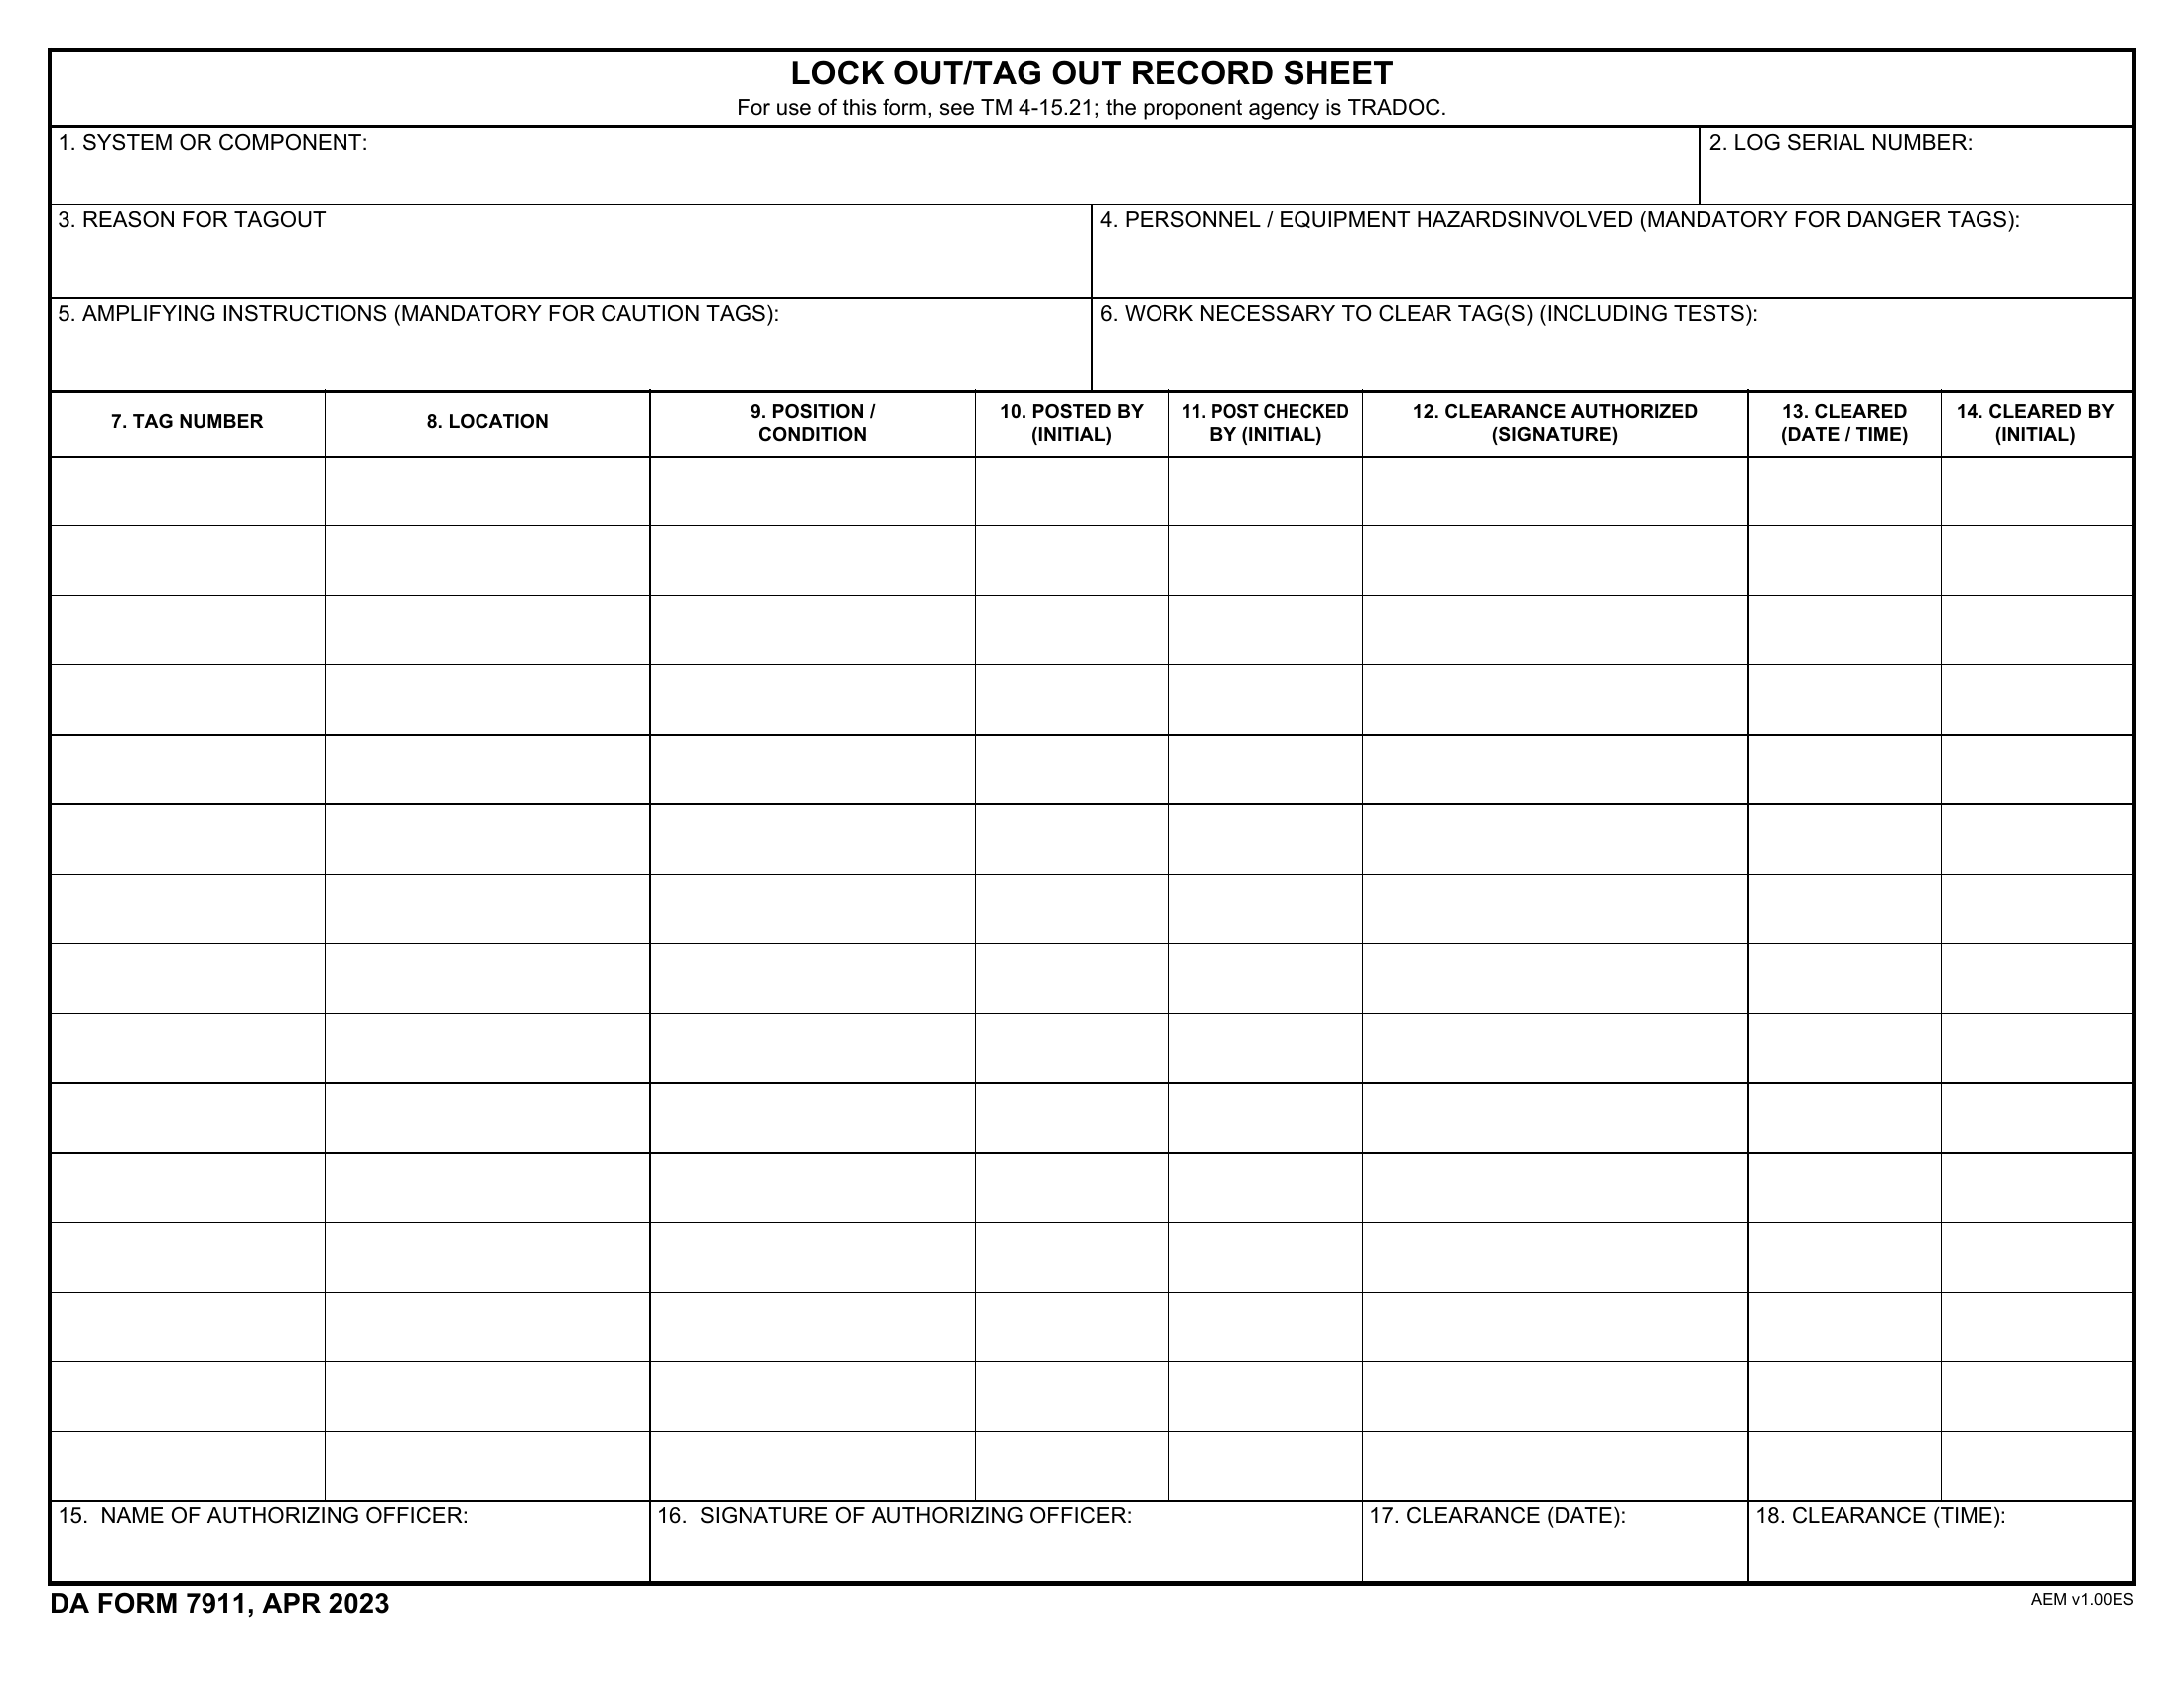
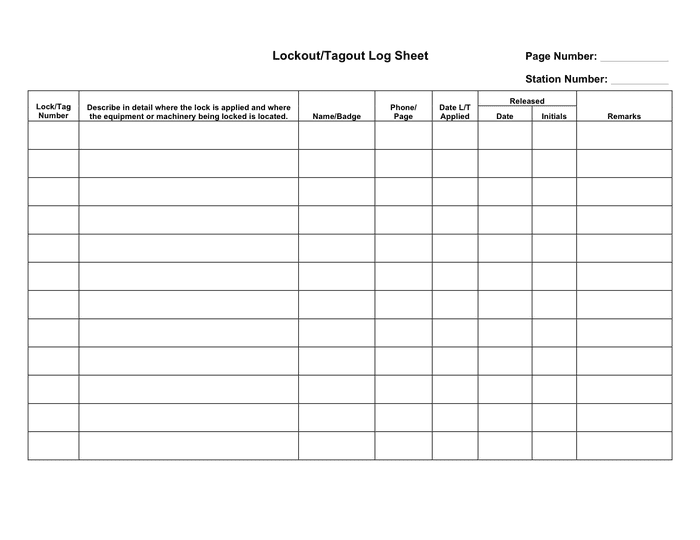
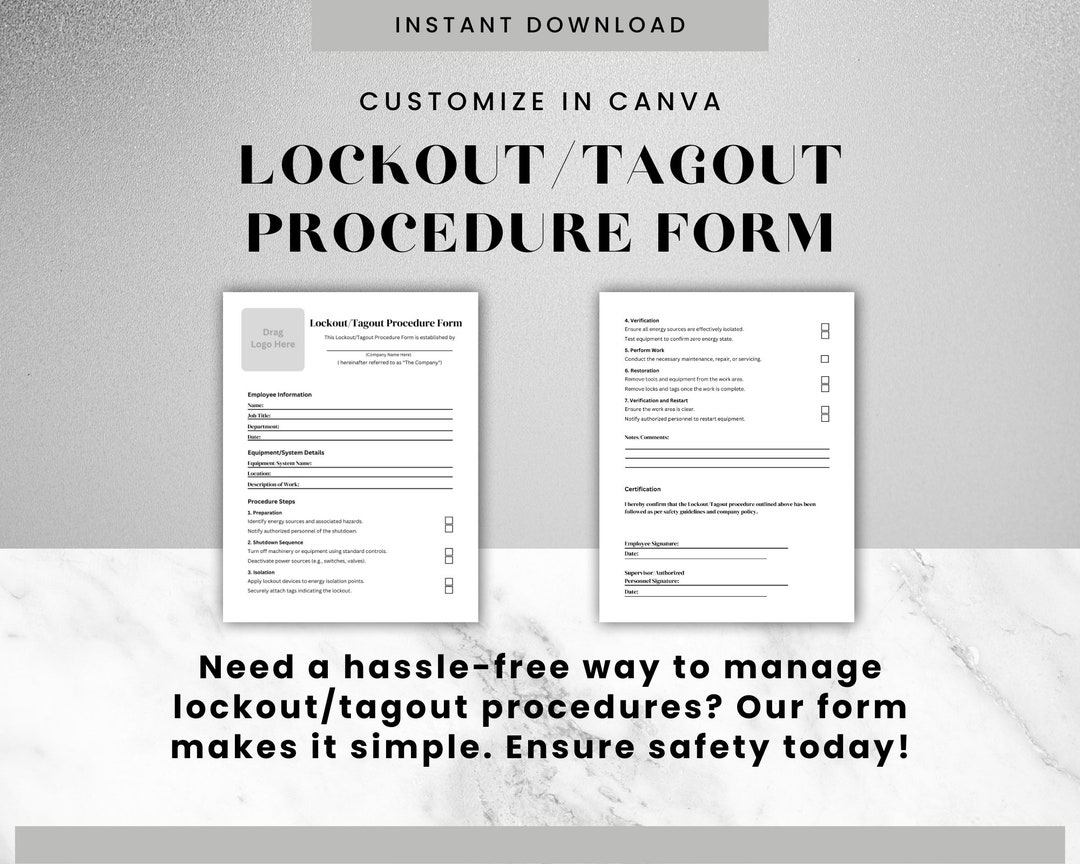
Anatomy of an Effective Group Lockout Tagout Form
Not all forms are created equal. A poorly designed document can create false confidence. An effective group lockout tagout form includes specific elements that enforce accountability and traceability.
Key Sections Every Form Should Include
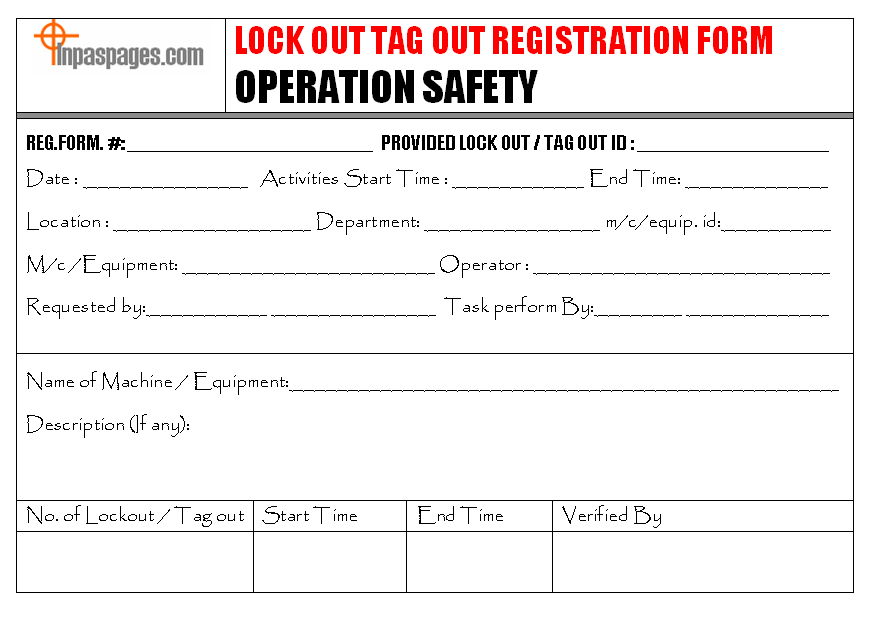
- Equipment Identification
- Clear name, ID number, and location of the machine or system. Avoid vague descriptions like “production line” – use “Conveyor System C-7, Packaging Line 2.”
- Primary Energy Source Details
- List all energy types involved: electrical (voltage), pneumatic, hydraulic, thermal, chemical. Specify isolation points (e.g., circuit breaker #42, main air valve).
- Authorized Supervisor
- Name and signature of the person coordinating the lockout. This individual is responsible for verifying all locks are applied and all workers are clear before release.
- Worker Roster with Lock IDs
- A table listing each technician, their role, lock color/number, and signature. This creates a direct link between person and lock.
- Lock Application & Verification Checklist
- Step-by-step confirmation that isolation has occurred, energy has been dissipated, and testing confirms zero energy state.
- Release Authorization Section
- Final sign-off requiring supervisor verification that all tools are removed, guards reinstalled, and all personnel are clear.
Real-World Example: Paper Mill Maintenance
At a Midwest paper mill, a dryer section required simultaneous electrical and mechanical work. Six technicians were assigned: two electricians, three mechanics, and a quality inspector. The supervisor used a group lockout tagout form to:
- Assign color-coded locks (blue for electricians, red for mechanics)
- Record each lock number and worker name
- Verify all six had applied their locks before lockout acceptance
- Maintain the form at the lockout board for shift handover
When one mechanic finished early, his lock stayed in place. The form ensured no one could bypass the process. Only after final inspection and collective confirmation was the system re-energized.
Common Mistakes That Undermine Group Lockout Procedures
Even with a form, human error and procedural gaps persist. These recurring issues compromise safety:
- Using a generic form – A one-size-fits-all approach fails to capture equipment-specific hazards.
- Incomplete worker verification – Failing to physically confirm each lock is applied and tagged.
- No shift交接 documentation – Day-shift workers lock out; night-shift crews assume clearance and restart.
- Lack of training on form use – Workers treat the form as a formality, not a functional tool.
- Missing secondary energy sources – Springs, capacitors, or suspended loads can release energy even after primary isolation.
One automotive plant learned this the hard way when a technician servicing a robotic arm was injured by sudden movement. The group form listed electrical isolation but omitted hydraulic pressure release. The form passed audits but failed in practice—because it didn’t reflect real-world energy sources.
How to Integrate the Form Into Your LOTO Program
A form isn’t a standalone solution. It must be embedded in a broader energy control program.
Step 1: Customize for Equipment and Workflow Don’t use a universal template. Create equipment-specific forms that map to actual isolation points. For a CNC machine, include lock points for main power, coolant pumps, and tool changers.
Step 2: Train on Roles and Responsibilities Workers must understand:
- Who is the authorized supervisor
- How to fill out and verify the form
- What to do if someone leaves before lock removal
- How to handle shift changes
Step 3: Use Visual Management Post the completed form at the lockout station. Use a dedicated board with lock hooks labeled by worker ID. This makes status instantly visible.
Step 4: Conduct Audits and Drills Monthly audits should review filled-out forms for completeness. Surprise drills test whether crews follow the process under pressure.
Step 5: Digitize Where Possible Paper forms get lost. Digital solutions—tablets at lockout points, QR codes on machines—can store records, send alerts, and provide real-time visibility.
The Role of Contractors in Group Lockout
Outside technicians often fall through the cracks. They may not be trained on your LOTO procedures or familiar with your form. Yet they’re among the most at-risk.
Best practice: Treat contractors like internal employees. Require them to: - Attend pre-job safety briefings - Use your lockout forms - Apply their own locks (under your supervisor’s coordination) - Sign off before departure
One food processing plant mandates that all contractors complete a “lockout orientation” before receiving site access. Their group form includes a separate section for contract workers, with a checkbox confirming training completion.
5 Essential Features of a High-Performance Group Lockout Tagout Form
Not all forms deliver equal value. The most effective ones share these characteristics:
- Machine-Specific Layout
- Pre-filled isolation points eliminate guesswork. Workers don’t have to recall where the disconnect is—they see it on the form.
- Tamper-Evident Design
- Use carbon-copy or tear-resistant paper. Digital versions should have audit trails showing who edited or viewed the form.
- Clear Release Protocol
- A dedicated section for “Final Verification” forces supervisors to check off each step: tools removed, guards replaced, personnel accounted for.
- Shift Handover Field
- Include space for outgoing and incoming supervisors to sign, ensuring continuity across shifts.
- Integration with Lockout Stations
- The form should live at the lockout point—attached to the hasp or stored in a weatherproof sleeve—not in an office file cabinet.
Digital vs. Paper: Which Works Better?
While paper forms are still common, digital group lockout tagout systems are gaining traction in high-risk industries.
| Feature | Paper Form | Digital System |
|---|---|---|
| Real-time visibility | No | Yes – supervisors see status remotely |
| Audit trail | Manual, error-prone | Automatic, timestamped |
| Storage & retrieval | Physical filing | Cloud-based, searchable |
| Training integration | Separate | Can embed videos or checklists |
| Compliance reporting | Manual | Automated OSHA-ready reports |
Digital tools like Sphera, Schneider Electric’s EcoStruxure, or Fiix CMMS allow teams to: - Scan QR codes on equipment to pull up the correct form - Assign electronic locks via mobile app - Notify team members when lockout is complete - Archive completed forms automatically
However, digital systems require investment and training. In environments with limited connectivity or older workforces, paper forms—when properly used—remain effective.
Final Checklist: Is Your Group Lockout Tagout Form Effective?
Before relying on your form in the field, verify it meets these criteria:
✅ Specific to equipment and energy sources ✅ Includes all required personnel fields ✅ Requires supervisor authorization for release ✅ Accounts for shift changes and contractors ✅ Stored at the lockout point during use ✅ Reviewed and updated annually ✅ Used consistently in training and audits
A form that sits in a binder or gets filled out after the fact is worse than useless—it creates a false sense of security. The real test is whether it’s used correctly, every time, by every team.
Strengthen Safety with the Right Process—and the Right Form
The group lockout tagout form isn’t bureaucracy. It’s a lifeline. In high-risk environments where multiple hands touch dangerous machinery, documentation isn’t optional—it’s essential. A well-designed, properly used form turns chaos into order, protects every worker on the job, and keeps your operation compliant with OSHA 1910.147.
Don’t wait for an incident to expose gaps. Audit your current process. Customize your forms. Train your teams. Make the group lockout tagout form a living part of your safety culture—not just another piece of paper.
FAQ
What is the purpose of a group lockout tagout form? It documents and coordinates lockout procedures when multiple workers are servicing the same machine, ensuring all personnel apply locks and verify safety before re-energization.
Who is responsible for the group lockout tagout form? The authorized supervisor—typically a lead technician or maintenance manager—oversees the form, verifies lock application, and authorizes release.
Can contractors use the same group lockout form? Yes, but they must be trained on your procedure, use their own locks, and sign the form like internal employees.
How long should completed forms be kept? OSHA doesn’t specify retention time, but best practice is at least one year for audit and incident investigation purposes.
Should the form be filled out before or after applying locks? It should be filled out in real time—during the lockout process—not after. The form verifies actions, not records them retroactively.
Can digital forms replace paper group lockout tagout forms? Yes, if they provide the same level of accountability, verification, and accessibility. Many digital systems offer enhanced tracking and compliance reporting.
What happens if a worker leaves before removing their lock? The supervisor must verify the worker is clear and safe before removing the lock with proper authorization, documented on the form.
FAQ
What should you look for in Group Lockout Tagout Form: Purpose, Use, and Best Practices? Focus on relevance, practical value, and how well the solution matches real user intent.
Is Group Lockout Tagout Form: Purpose, Use, and Best Practices suitable for beginners? That depends on the workflow, but a clear step-by-step approach usually makes it easier to start.
How do you compare options around Group Lockout Tagout Form: Purpose, Use, and Best Practices? Compare features, trust signals, limitations, pricing, and ease of implementation.
What mistakes should you avoid? Avoid generic choices, weak validation, and decisions based only on marketing claims.
What is the next best step? Shortlist the most relevant options, validate them quickly, and refine from real-world results.